Your first sticker in a few minutes
A quick guide to setting up Telldoodle and making the first print together.
Step by step
Do the first setup together with your child.
Charge it
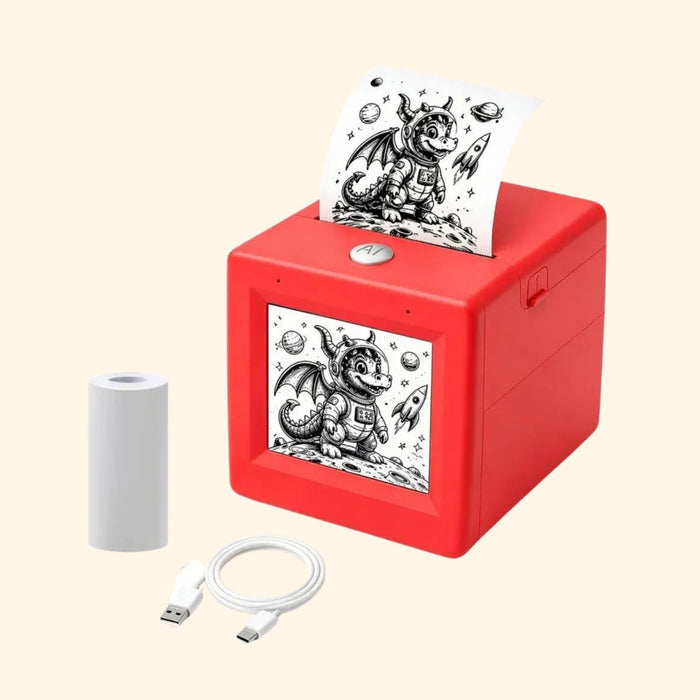
Charge Telldoodle with the included USB-C cable before first use.
Connect to Wi-Fi
Download the free Fun Print app and connect Telldoodle to a 2.4 GHz Wi-Fi network (5 GHz networks are not supported). An adult should do this part. Stuck? Write to us and we’ll walk you through it.
Say your idea
Hold the button and describe an idea out loud. Short and clear works best, like “a dragon eating pizza”. Telldoodle understands spoken English; parents can also type an idea in the Fun Print app.

See it on the screen
The drawing appears on the built-in screen and starts printing right away. Not quite right? A short press of the button stops the print, then just ask again.
Print it
It prints in seconds on 57 mm thermal paper. With a self-adhesive roll, every print is a sticker.
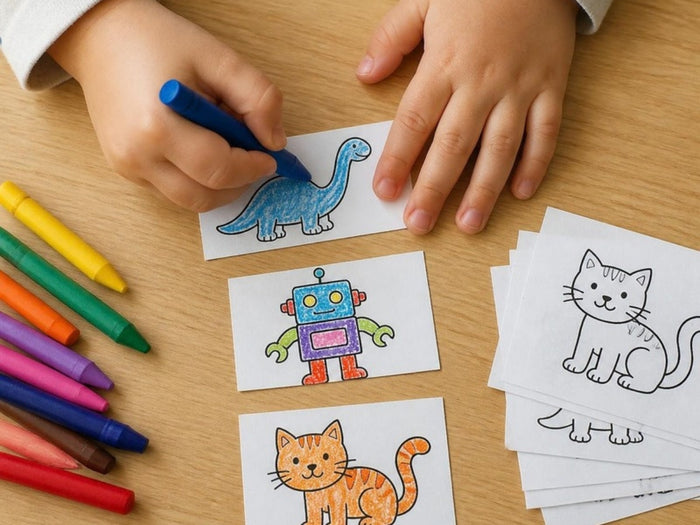
Color it
Grab crayons, colored pencils or markers and color it in.
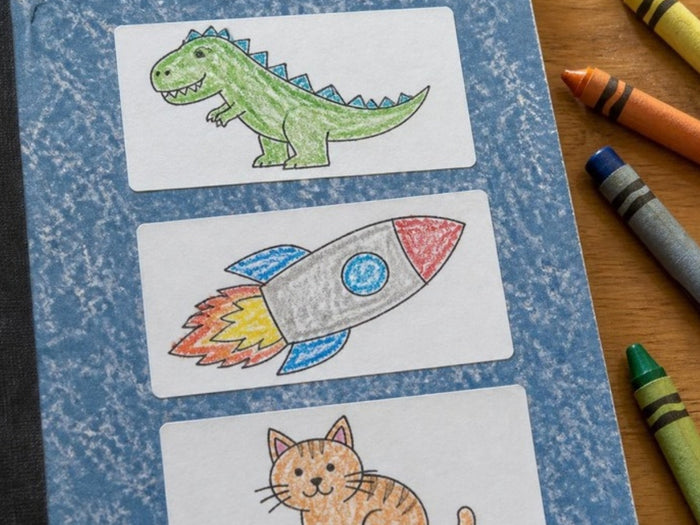
Peel and stick
Peel off the backing and stick it on notebooks, cards, lunch boxes and more.
Change the paper roll
When a roll runs out, swap in a new 57 mm thermal roll (self-adhesive for stickers). The Complete Kit comes with 13 rolls to start.
Need a hand? Write to us and we’ll help you get set up.
For the best results
Speak clearly
Short, simple ideas: “a cat astronaut”, “a robot on a skateboard”.
Use 2.4 GHz Wi-Fi
Telldoodle doesn’t connect to 5 GHz networks.
Keep it charged
Recharge with the USB-C cable when the battery runs low.
Ready to make their first sticker?
Telldoodle AI Voice Sticker Maker
Tracked shipping · 30-day returns · 12-month warranty